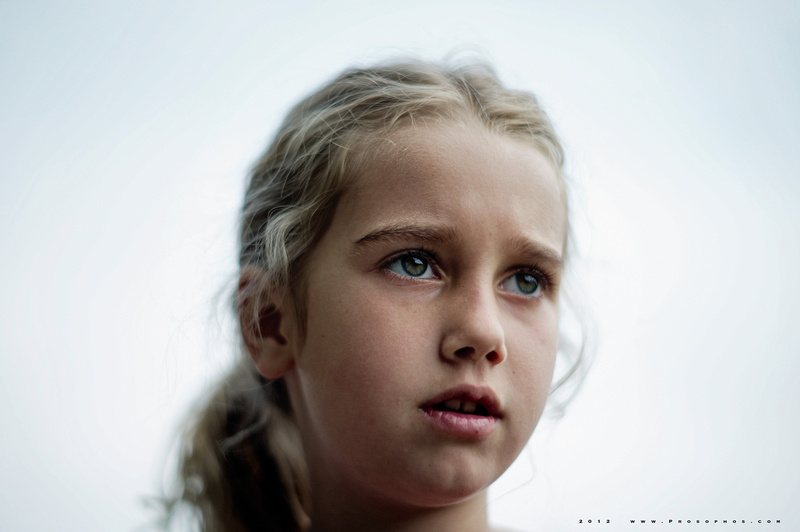
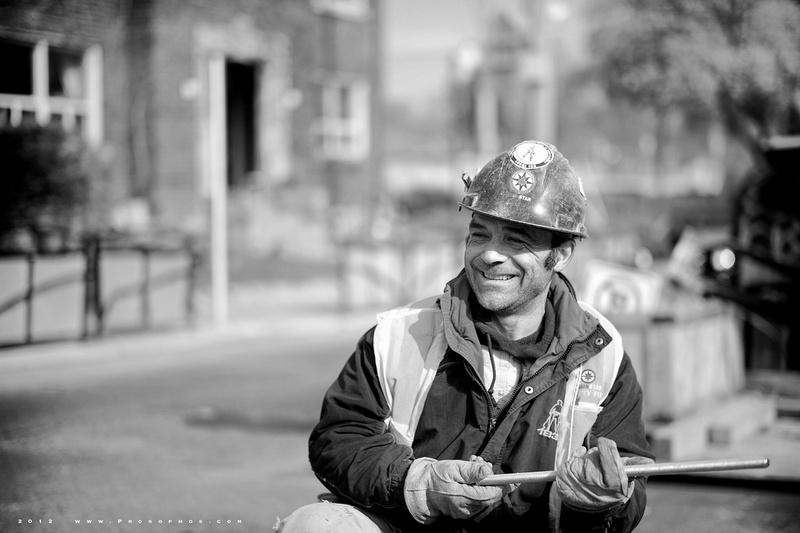
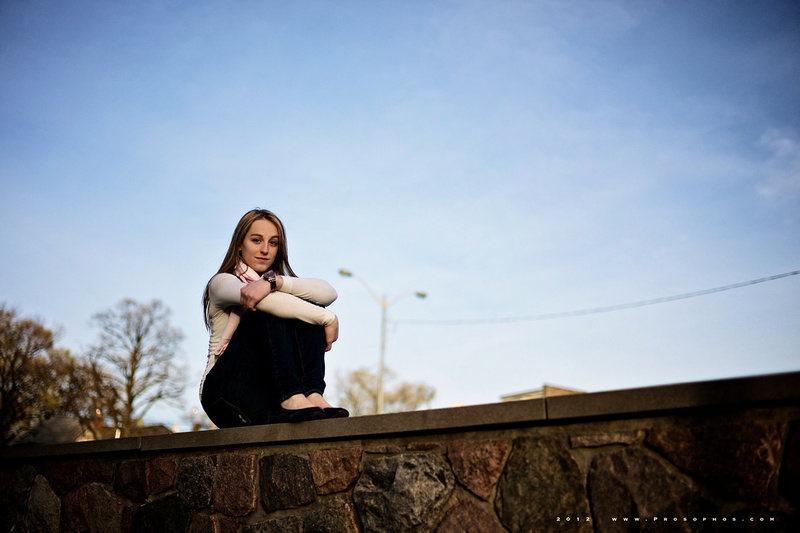
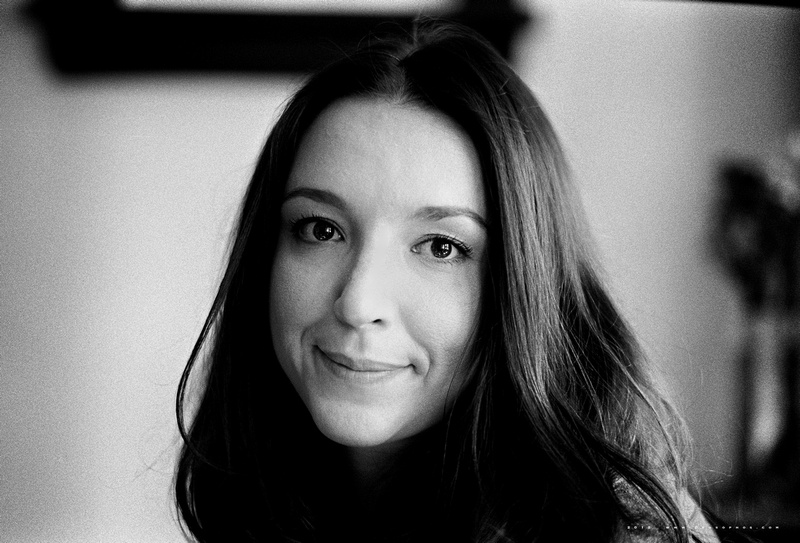
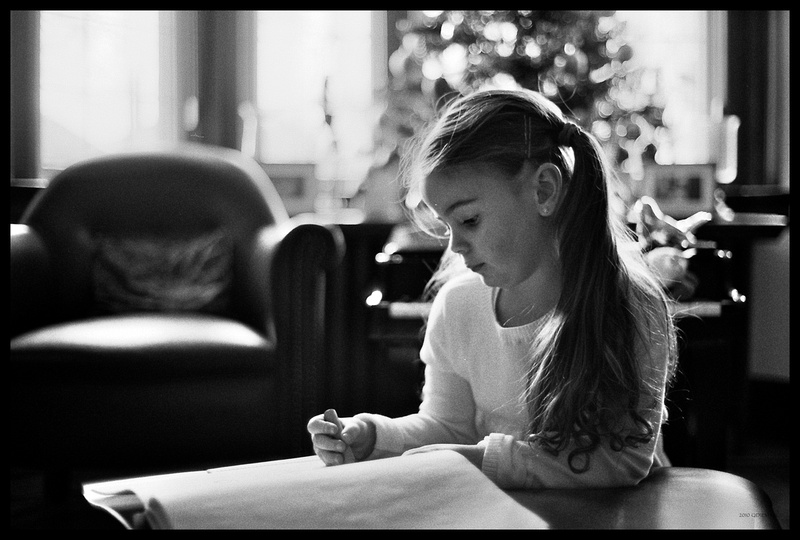
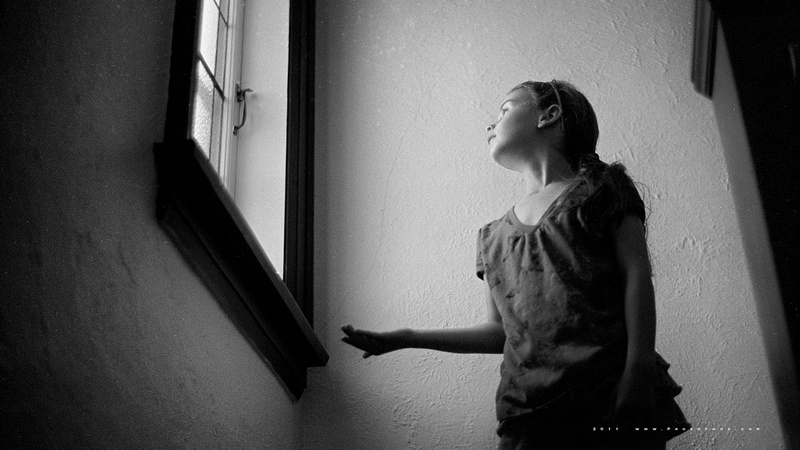
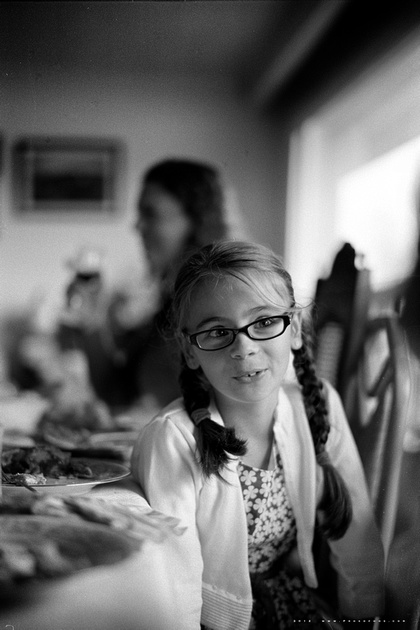
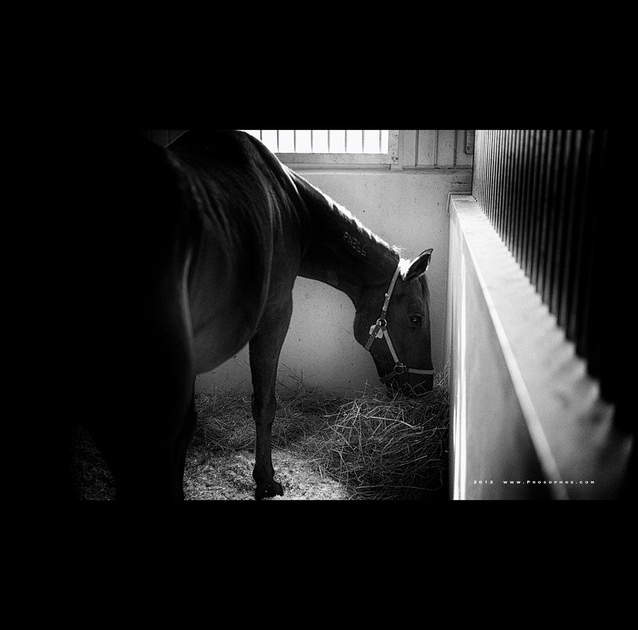
I received this email from Mark this morning and his enthusiasm was so infectious, I just had to make it today’s post. And of course, the images speak for themselves.
Well Peter,
I did it!!
Thanks to your direction and encouragement, I have developed my first roll of B&W film.
Attached below are a few of the results.
I realize they are scratched and full of flaws (flaring and such…) but…I think they are incredible!
I realize I am biased, however; I wanted to take the time to thank you for your efforts in getting me (and hopefully many others!) to this point.
There is nothing quite like the feeling that producing something like this brings…
I am now certain that I am “The (second…) Most Interesting Man in the World” (Dos Equis anyone?? I’ll leave the top spot to you…for now.)
…Mosquitos refuse to bite me, purely out of respect. I can now live vicariously through…myself.
🙂
Anyway, these are shot on a Zeiss Ikon, with a 50 lux 1.4; mostly at 1.4 or 2 with an ND Filter. The film is T-max 400, and they were scanned on the Plustek 7600 (currently on special at B&H!)
Anyway, all the best…I hope we can meet in person some day soon.
Mark, these are so full of LIFE. Wonderful work my friend…
If I had a small part in making this happen, I am honoured.
Mr. Tom A. Smith, the Events & Education Manager of Leica Akademie NA tells me that there is still one spot left for this workshop, so if you’re interested in attending, please see here.
If you can’t attend this weekend, but reside in the Toronto area, please note that I offer practical one-on-one teaching sessions on a year-round basis.
Tomorrow I will post Part 3 of my series, How I Process B&W Film.
In this final article, we put it all together, and I will list my step-by-step instructions on how to use the equipment discussed in Part 1 with the solutions prepared in Part 2.
Compositional teaching point. The foreground railing directs the eye to an imaginary vertical seam which splits the image into two frames, like the adjoining pages of an open book:
Look carefully at the rendering of the Leica 75mm Summilux (Canadian version)… it’s wonderful.
I sometimes struggle with this lens, as it doesn’t have the coatings of modern lenses and it is susceptible to flare. Physically it’s large too. And correct focus is notoriously difficult to achieve at f/1.4, because of the extremely thin depth of field (witness the focus here is on the near eye; by the time we get to the second eye, we are already out of focus).
But for portraits, I can’t think of a more appropriate lens in this focal range.
I should really do a Lens Report on this lens, as I’m often asked about it. But I haven’t been motivated to because the qualities of the 75 Summilux that I most value are not easily appreciated via test charts. Ideally, it’s best to just view images taken with it (however, when I wrote my report on the Leica 75mm Summarit f/2.5, I did include some comparison crops between the two lenses).
If you want to see more examples of portraiture with the Leica 75mm Summilux, please see here, here, and here.
I resisted the temptation to crop away the top and bottom portions and present this as a pseudo-panoramic horizontal strip… something about the original image (as presented here) appears very surreal, very much like a “dream”. Or perhaps a diorama.
This was taken just prior to the sunset, as the light cast a warm glow.
All the previously washed out nuances of colour and texture in the environment seemingly emerge from nowhere and take on a golden hue — this is what happens at the so-called “golden hour“.
“I am new to following your site…via your guest blog entry on Steve Hufff’s site and I wanted to say I enjoy your work very much. The tones, the processing when in color and your subject matter are a joy. I look forward to seeing more of your posts in the future.
A quick question for you though. I noticed many of your portraits are shot with a 35mm lens. I am wondering if you are cropping your resulting image? I ask because your portraits are closer than what I am achieving with a 50mm without being in the face of my own children. Not that I am a purist and don’t crop images but I try not too. Appreciate your comments on this as you are able.
I should also add that I enjoy how you capture your children in the midst of their activities…not an easy thing to do I am sure but what a great result.
Thanks and I look forward to more of your work.
Best regards — Bishop”
Hi Bishop,
Thank you so much for writing, and for the kind words!
In answer to your question, I don’t often crop when using a 35mm lens*, because if I did, I would lose the more interesting perspective I get with this FOV, vs. the 50mm. It’s true that one needs to be more careful with distortion when photographing people with a 35mm lens (and to some extent distortion is always there), but with practice you learn to minimize it and/or take advantage of it.
It took me some time to learn how to do this, because I was always a “50mm photographer”, but the rewards have been worth it. Of course, I still shoot with a 50mm lens!
I hope I’ve been able to help, and thanks again for writing,
—Peter.
________________________________________
*In those of my 35mm images where people appear “closer” than what you’re able to achieve with your 50mm lens, Bishop, I have obviously cropped the image. Having said that, I’m normally photographing people as close as possible.
If you want to get the most out of your camera, and be a better photographer, turn every “Auto” function on your camera OFF.
Photograph in Manual mode and decide for yourself what the aperture, shutter speed, and ISO should be. If possible, use a prime (fixed focal length) lens and focus it manually.
In short, remove (and control for) as many variables as possible when photographing.
In this way only will you be able to understand the behaviour and importance of light. In this way only will you begin to anticipate images before they materialize.
This one was challenging, but ultimately very rewarding.
He was constantly moving, with his back toward me most of the time, making a decent shot difficult (it’s always a struggle at this age when kids start getting mobile, but — on the positive side — they’re still “naturals” in front of the camera).
So, I tried a few times throughout the day to capture him… without success.
Then, at the time of the “golden hour“, he was once again looking out the window. As he turned here, and smiled, a shaft of soft light from outside acted as a gentle spotlight on his left face and shoulder.
As I couldn’t back up any further from where I was, I could just fit him within the 75mm frame lines. And I tried my best to hit focus, as this wonderful combination of expression, light, and composition would likely not repeat itself. Fortunately, it all came together.
I thought this would be most appropriate for a Monday morning post, but it was pushed aside with all of the announcements yesterday.
Tuesday morning will do nicely however :).
As an aside, I really like the little iPhone Pocket Light Meter app – I’ve been using it for just over a year with my M2 for situations like this, where the lighting is tricky, and it’s done very well.